What’s in the Box
- Sponge Gourd Seeds | Nenua Seeds
- Sowing instructions printed on backside of Seed Packet
- Recyclable Pouch
Introduction
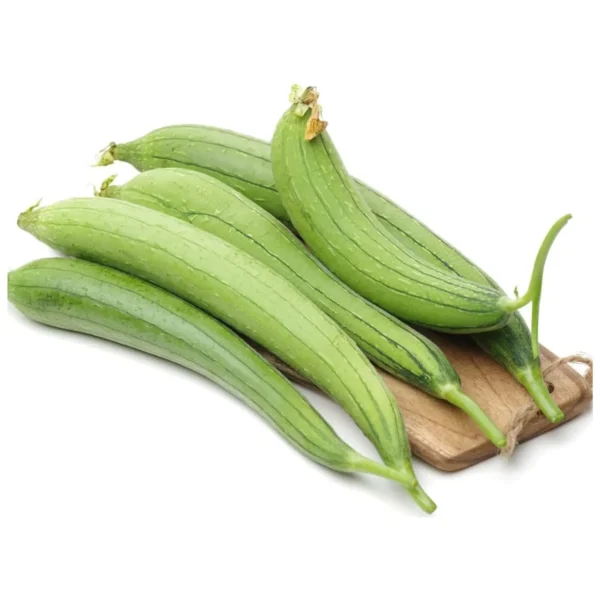
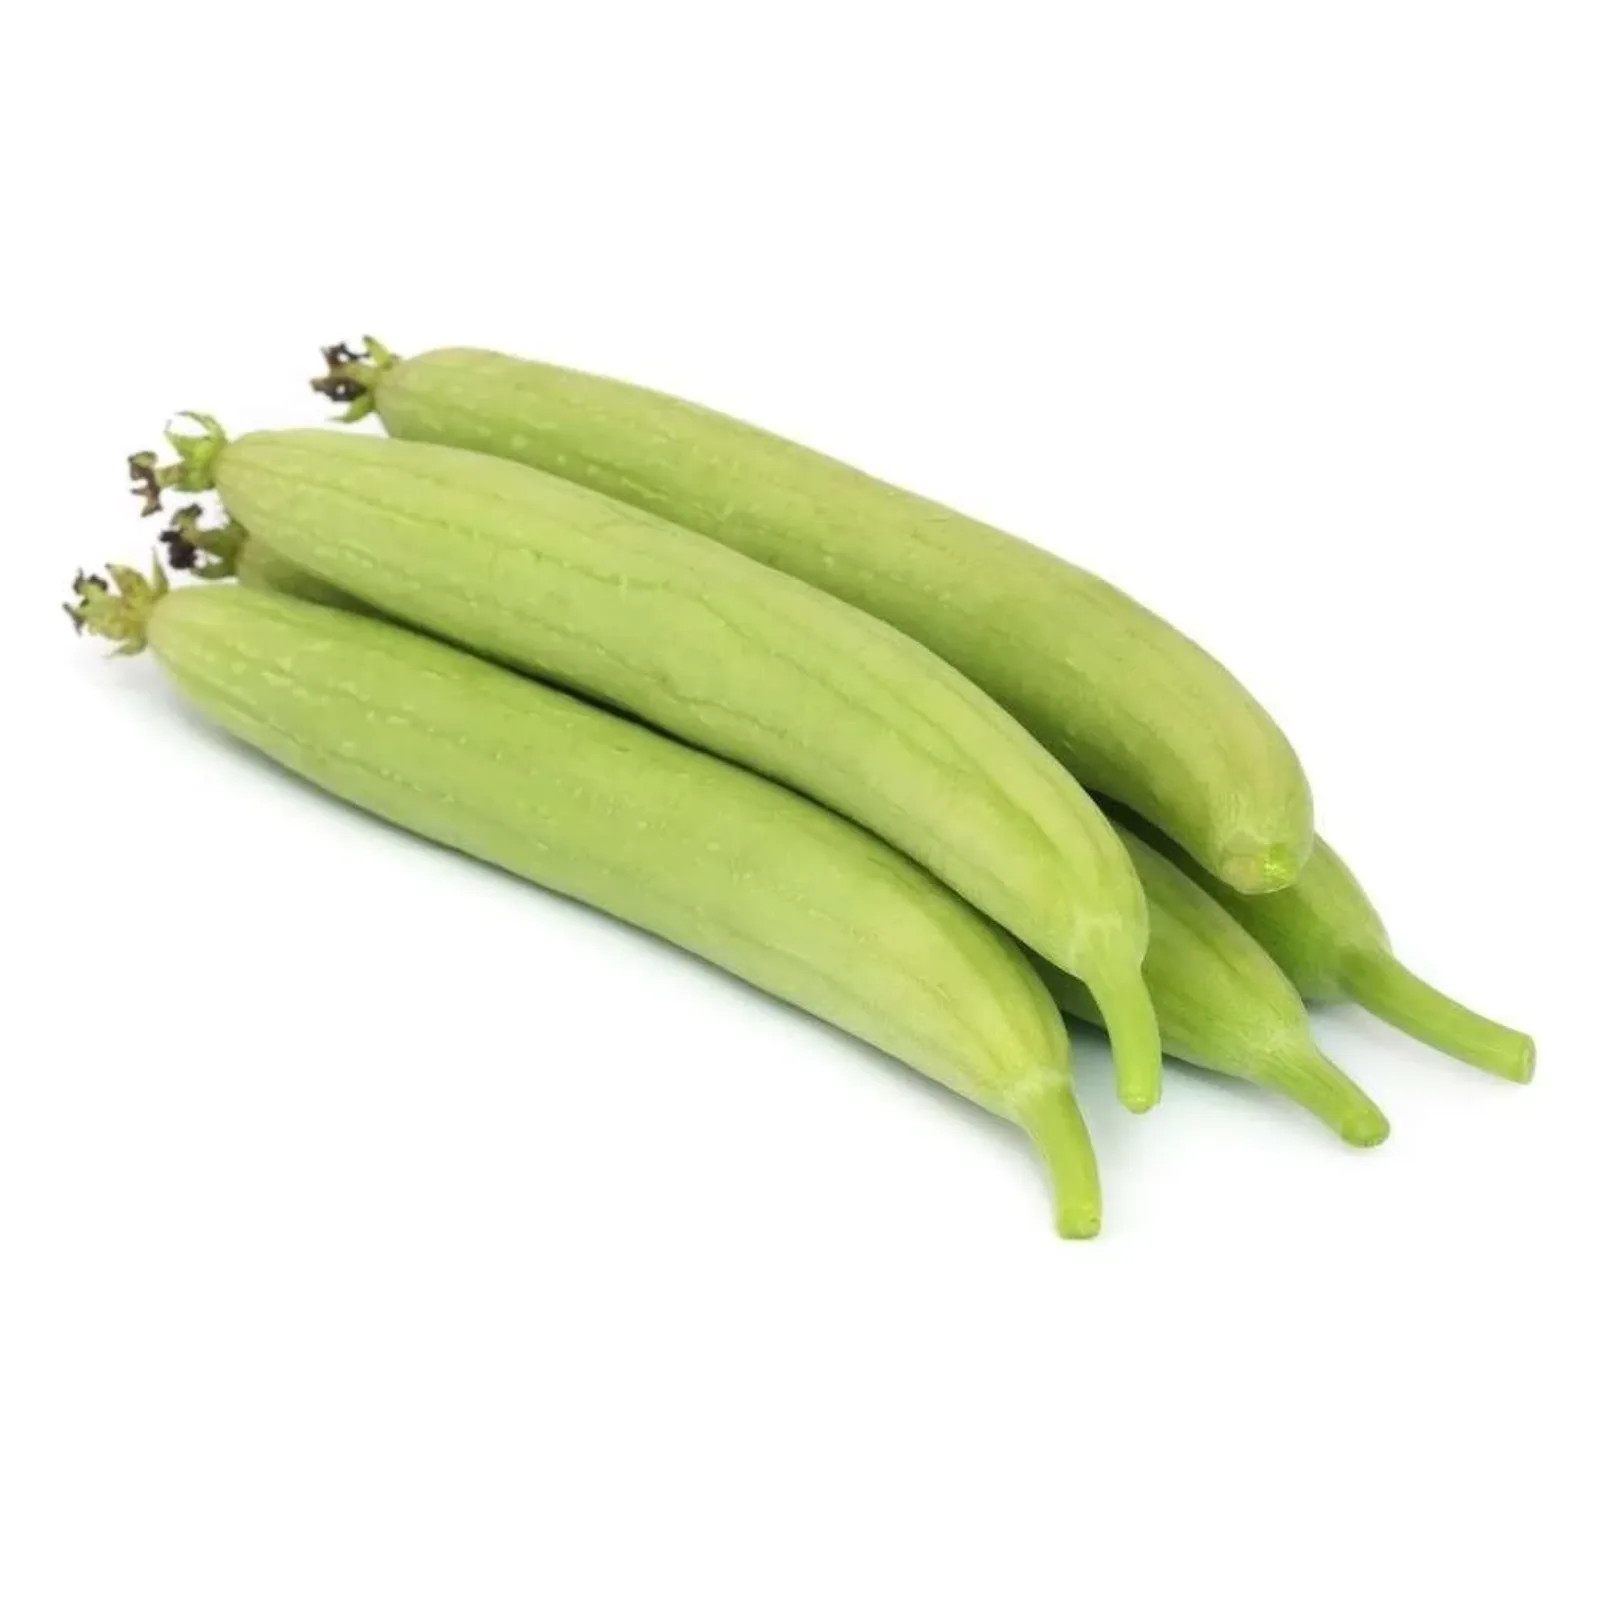
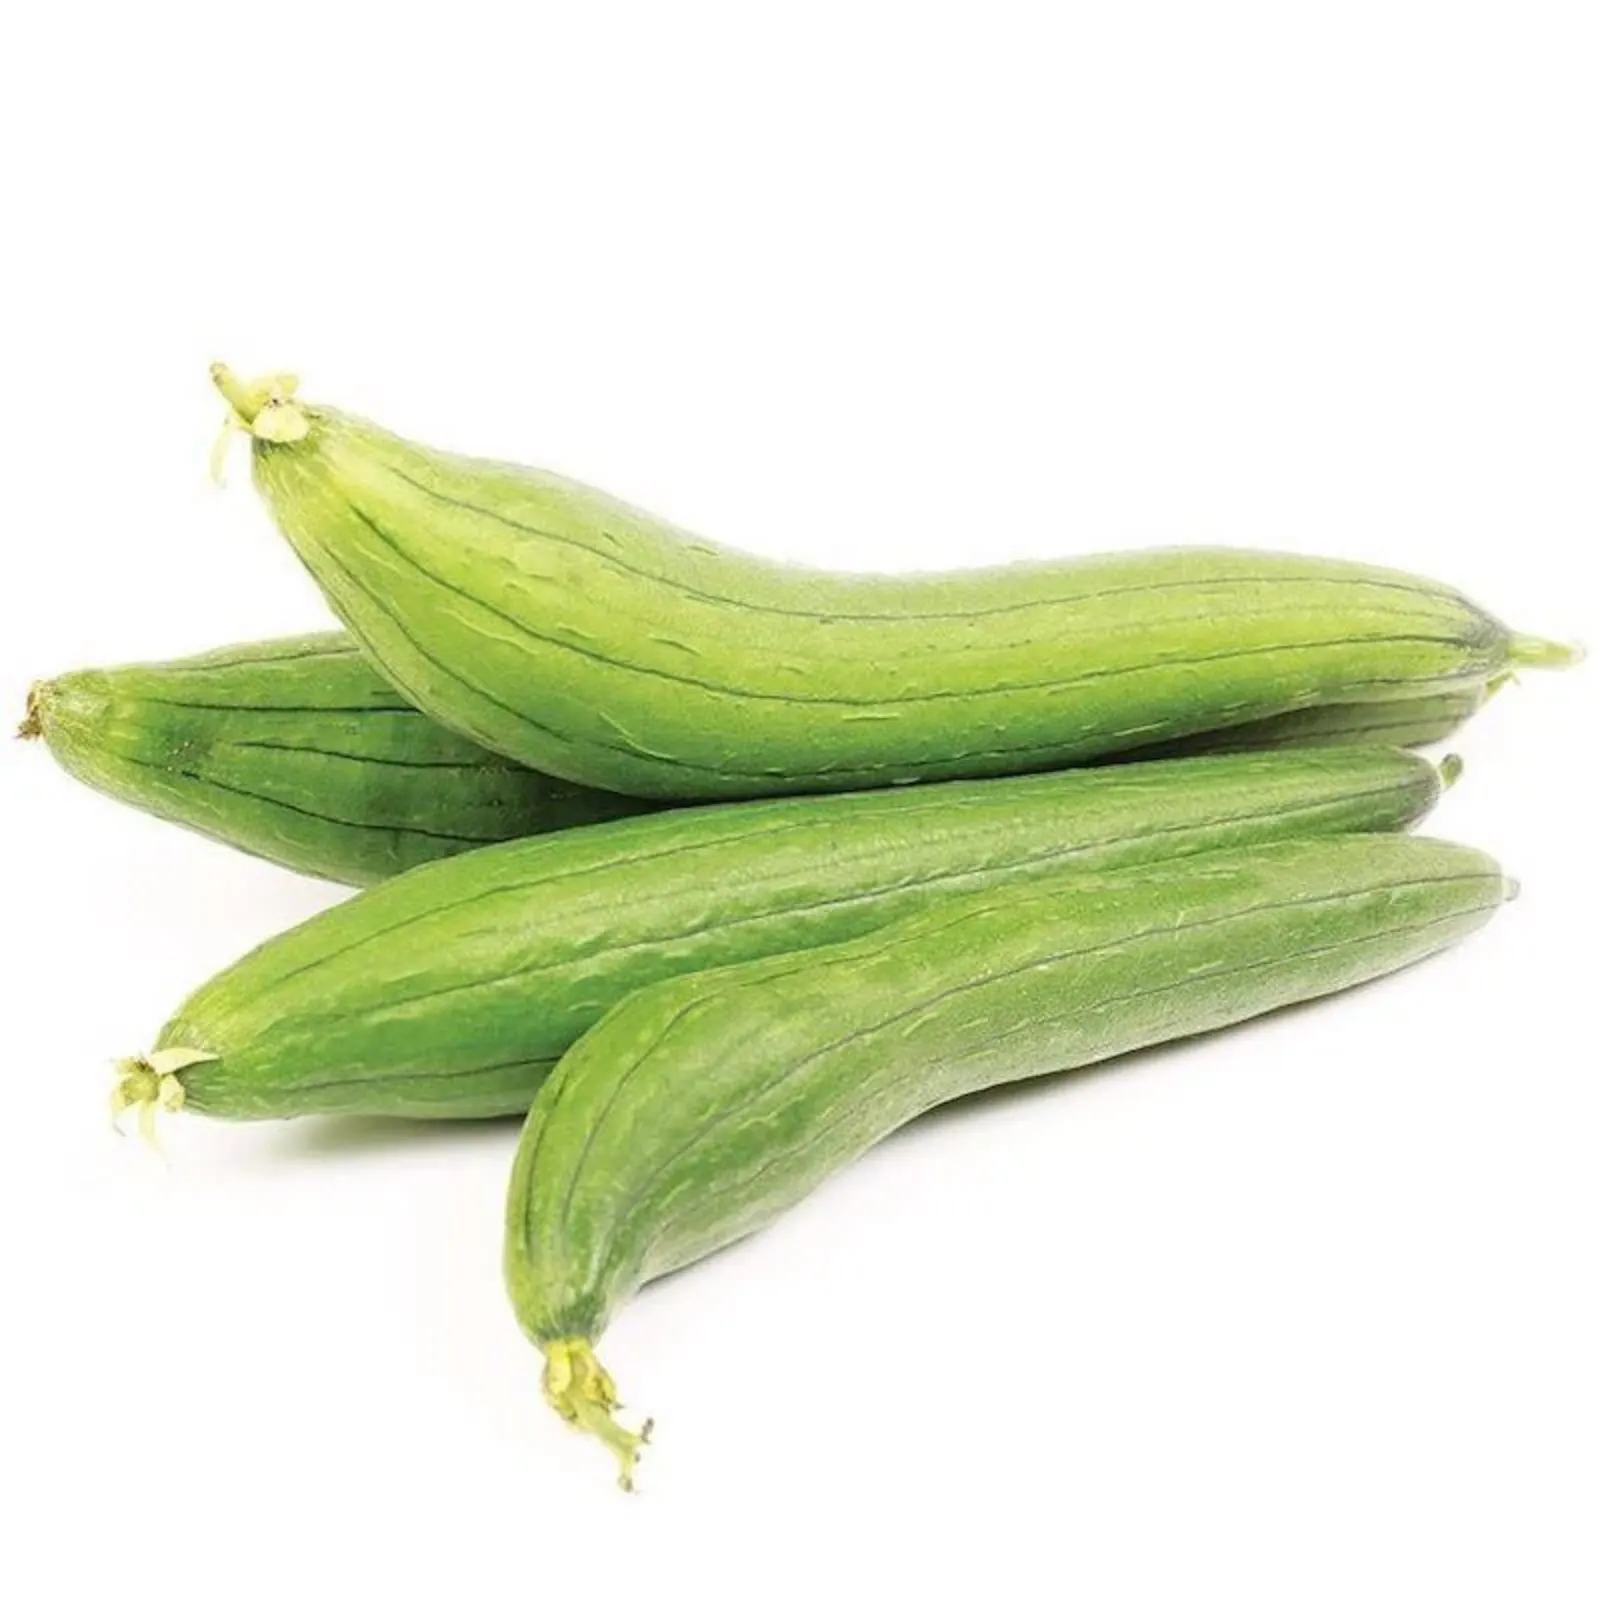
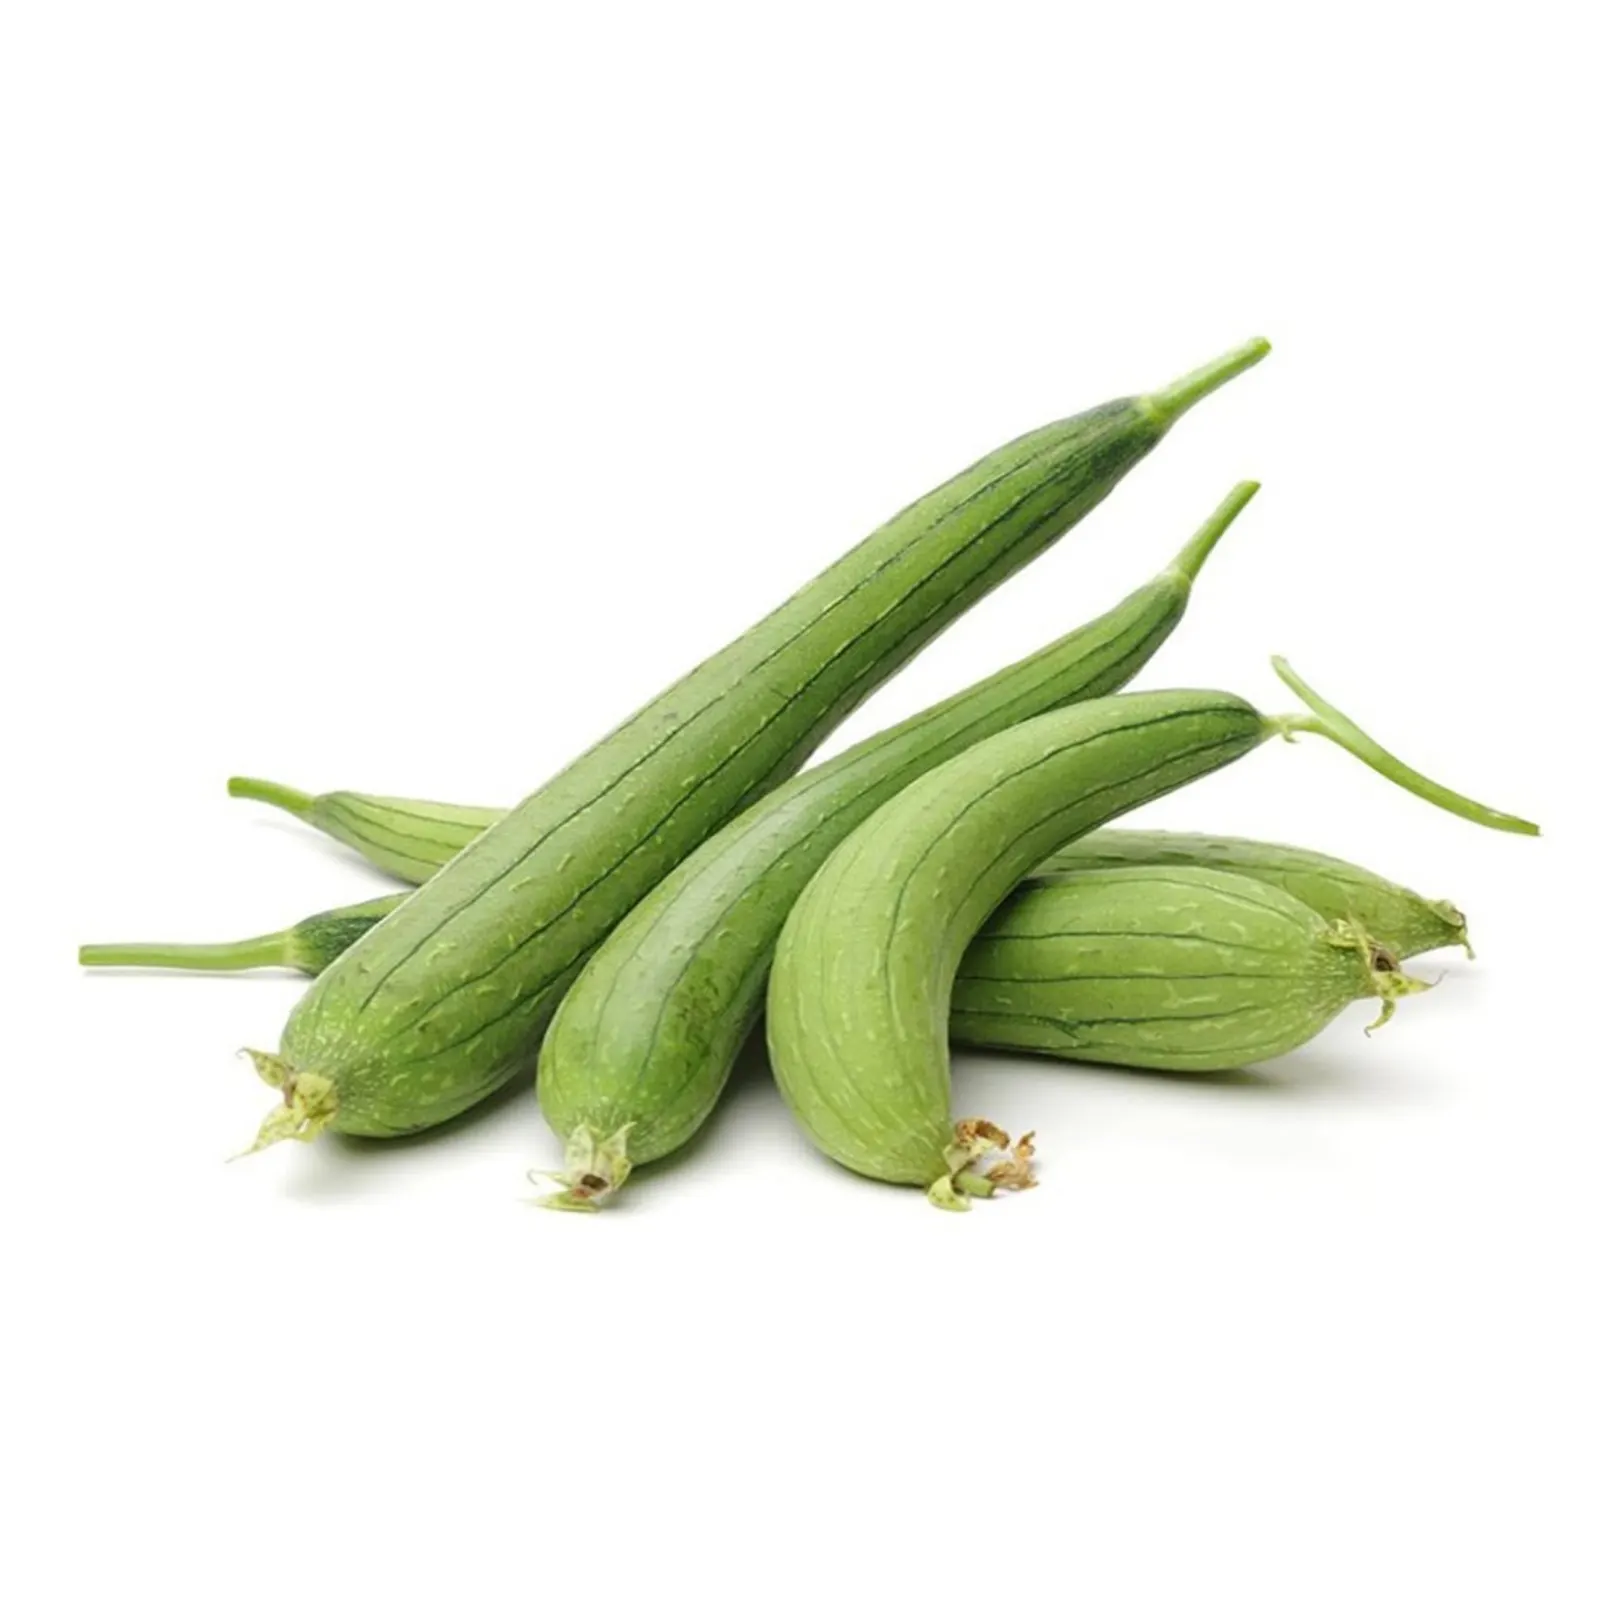
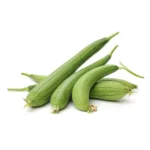
Sponge gourd, also known as luffa, ridge gourd, or vegetable sponge, is a fast-growing annual vine cultivated mainly for its edible immature fruits and fibrous mature fruits, which can be used as natural scrubbers or sponges. Native to South and Southeast Asia, sponge gourd belongs to the Cucurbitaceae family. It thrives in tropical to subtropical climates and is a popular crop in home gardens due to its versatility, fast growth, and relatively low maintenance.
Cultivating sponge gourd starts with proper seed germination and requires attention to the growing medium, soil nutrition, moisture, and pest management. This guide will help gardeners and farmers successfully grow sponge gourd from seed to harvest.
Guide to the Germination Process, Soil & Fertilizer, Watering & Pest Control Requirements for Sponge Gourd Seeds
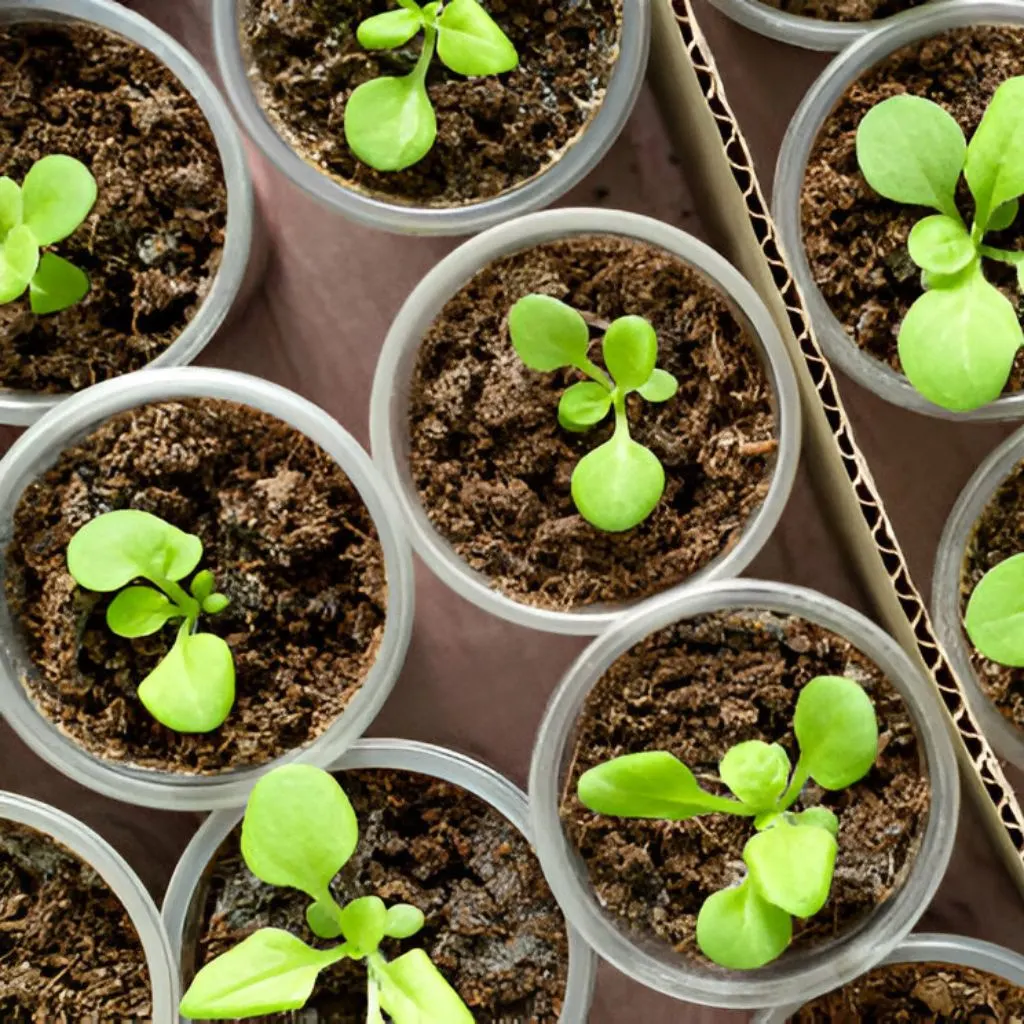
Seeds Germination Process
Seed Preparation: Sponge gourd seeds have a hard outer coating, which can delay germination. To improve germination rates:
- Soak seeds in warm water (around 40°C / 104°F) for 12–24 hours before sowing.
- Optionally, scarify the Sponge gourd seeds gently using sandpaper or by nicking the seed coat with a knife to allow better water absorption.
Planting Medium: The planting medium should be:
- Well-draining, loose, and fertile
- Rich in organic matter
- A mix of cocopeat, compost/vermicompost, and sand in equal parts works well for nursery trays
Planting
- Sow seeds 1 inch (2.5 cm) deep in the planting medium
- Maintain spacing of at least 1 foot (30 cm) between seeds in seedbeds or individual seedling trays
Containers: If starting indoors or in small spaces:
- Use nursery trays, peat pots, or small biodegradable containers
- Ensure containers have drainage holes
- Transplant seedlings once they have 2–3 true leaves (approx. 2–3 weeks after germination)
Watering
- Keep the medium moist but not soggy
- Mist the top layer gently with a spray bottle to avoid dislodging seeds
- Ensure consistent moisture throughout the germination period
Temperature
- Optimal temperature range: 25°C to 32°C (77°F to 90°F)
- Avoid exposure to temperatures below 20°C (68°F) or sudden fluctuations
Light
- Seeds require indirect sunlight until germination
- After sprouting, ensure 6–8 hours of direct sunlight daily to prevent legginess
Germination Time: Older or improperly stored seeds may take longer or have lower success rates
Germination typically occurs in 7 to 14 days
Soil & Fertilizer Requirement
Soil Type: Sponge gourd thrives in:
- Loamy or sandy-loam soil
- Well-drained and nutrient-rich
- pH level between 6.0 and 7.0
Avoid clay-heavy or poorly draining soils, which can lead to root rot.
Soil Preparation
- Till the soil to a depth of 12 to 18 inches
- Incorporate well-rotted compost or farmyard manure (2–3 kg/m²) into the soil
- If the soil is acidic, add lime; for alkaline soils, mix in organic matter to balance pH
Fertilization
- Before sowing: Add a basal dose of compost and balanced NPK fertilizer (e.g., 10:10:10)
- At vining stage: Apply nitrogen-rich fertilizer to encourage leaf growth
- During flowering and fruiting: Switch to phosphorus and potassium dominant fertilizers
- Recommended schedule:
- Week 0 (pre-sowing): 2–3 kg compost per square meter
- Week 3–4: Side-dress with urea or organic nitrogen source
- Week 6–8: Apply bone meal or phosphate-rich fertilizer
- Week 10 onward: Use potash-rich fertilizers like wood ash or muriate of potash
Use liquid compost teas or seaweed extract as foliar feeds every two weeks for improved health.


Watering Requirement
Regular Watering
- Sponge gourd needs consistent moisture, especially during:
- Germination
- Flowering
- Fruit formation
- Water every 2–3 days in summer, more frequently in dry regions
Drought Tolerance
- Sponge gourd is moderately drought-tolerant once established
- Young seedlings and fruiting plants are more vulnerable to stress
- Mulch around the base to retain soil moisture and reduce evaporation
Deep Watering
- Use deep watering methods like drip irrigation or soaker hoses
- Encourage deep root growth to improve plant stability and yield
Avoid Overwatering
- Overwatering can lead to:
- Root rot
- Fungal diseases
- Poor nutrient uptake
- Ensure soil drains well and avoid waterlogging the root zone
Climate Dependent: In dry/hot climates, increase watering and use shade netting if necessary during peak afternoon sun. In humid climates, reduce watering frequency
Pest Control Requirement
List of Common Pests:
- Aphids – Small sap-sucking insects that cluster on new growth
- Fruit Flies – Lay eggs in young fruits, leading to rotting
- Red Pumpkin Beetles – Chew on leaves and flowers
- Leaf Miners – Tunnel inside leaves, leaving white trails
- Spider Mites – Microscopic pests that cause yellowing and stippling
- Whiteflies – Suck sap and transmit plant viruses
Solutions:
- Aphids:
- Fruit Flies:
- Install pheromone traps or fruit fly traps
- Remove and destroy infected fruits
- Cover developing fruits with fine mesh bags
- Red Pumpkin Beetles:
- Handpick beetles early in the morning
- Use ash and cow dung slurry spray as a deterrent
- Apply neem oil weekly
- Leaf Miners:
- Remove and destroy infected leaves
- Use sticky traps
- Apply spinosad-based insecticides if infestation is severe
- Spider Mites:
- Increase humidity around plants (mites prefer dry conditions)
- Use miticide sprays or neem oil
- Whiteflies:
- Spray with insecticidal soap
- Use yellow sticky traps to attract and trap them
General Practices:
- Rotate crops yearly to prevent pest buildup
- Keep the garden clean and free from weeds and debris
- Practice companion planting with marigolds or basil to deter pests
- Encourage beneficial insects like hoverflies, wasps, and bees


Reviews
There are no reviews yet