What’s in the Box
- Cabbage Seeds
- Sowing instructions printed on backside of Seed Packet
- Recyclable Pouch
Introduction
Cabbage (Brassica oleracea var. capitata) is a cool-season vegetable widely cultivated for its firm heads of tightly packed leaves. A staple in gardens and farms across the globe, cabbage is not only nutritious—rich in vitamins C and K—but also relatively easy to grow with proper care. Understanding the germination process, ideal soil and fertilizer conditions, watering needs, and pest management strategies is key to ensuring a successful cabbage crop. This guide provides comprehensive instructions on how to cultivate cabbage from seed to maturity, emphasizing each critical stage of the plant’s growth.
Guide to the Germination Process, Soil & Fertilizer, Watering & Pest Control Requirements for Cabbage Seeds

Seeds Germination Process
Seed Preparation: Opt for disease-resistant varieties suited to your climate zone. To improve germination rates and reduce the risk of seed-borne diseases, pre-soak the seeds in warm water (around 100°F or 38°C) for 15–20 minutes. You may also use a mild hydrogen peroxide solution (1%) to disinfect the seeds. After soaking, allow the seeds to dry on a paper towel for a few hours before planting.
Planting Medium: Cabbage seeds prefer a well-draining, nutrient-rich medium with a fine texture to support early root development. A good seed-starting mix typically consists of:
- 1 part peat moss or coco coir (for moisture retention),
- 1 part perlite or vermiculite (for aeration),
- 1 part compost or well-rotted manure (for nutrients).
The pH should be slightly acidic to neutral, ideally between 6.0 and 6.8.
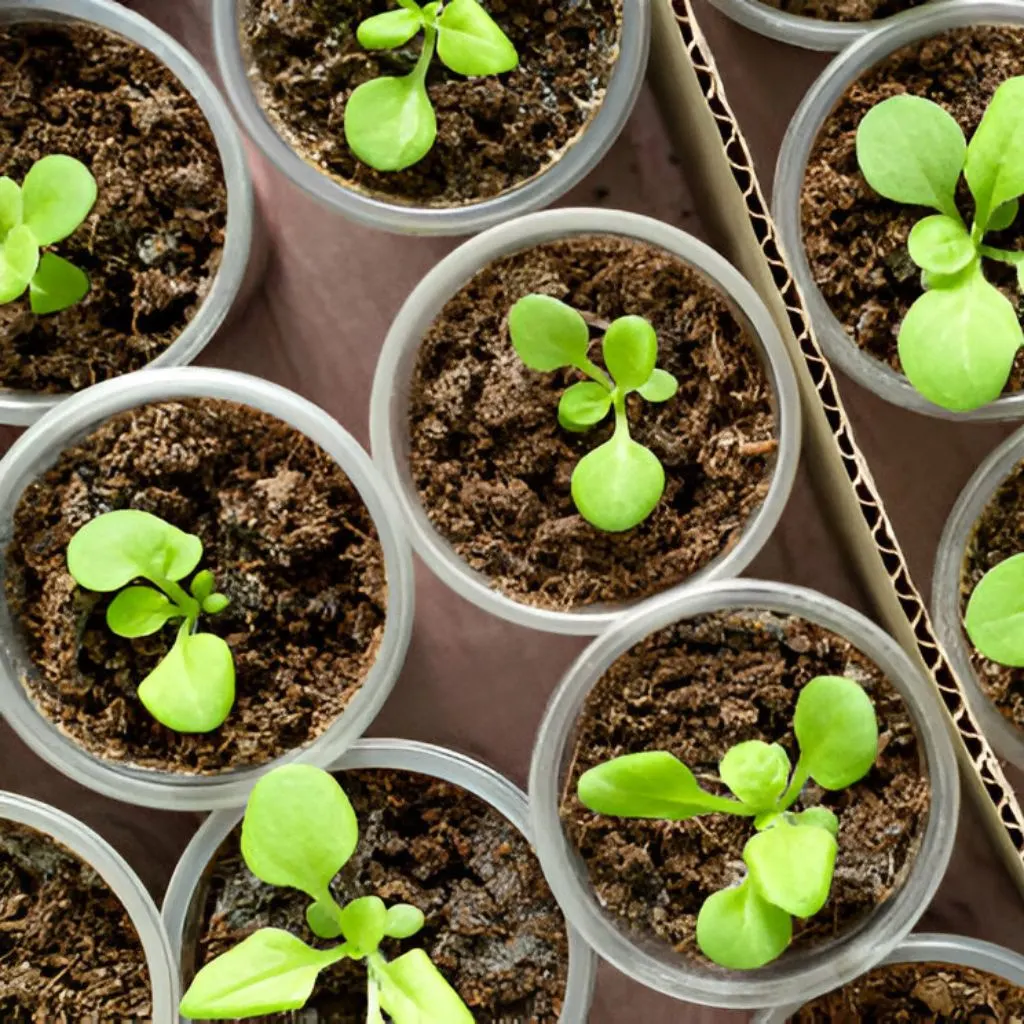
Planting: Cabbage seeds are small and should be sown about ¼ inch (0.6 cm) deep. Space them around 1 inch (2.5 cm) apart if planting in rows or trays. Cover the seeds lightly with the medium and press down gently to ensure good seed-to-soil contact, which enhances germination.
Containers: You can germinate cabbage seeds in seed trays, plug trays, biodegradable pots, or small containers with drainage holes. Using cell trays minimizes root disturbance during transplanting. Ensure that each container is clean and sterilized before sowing to prevent fungal infections or damping off.
Watering: The medium should be kept evenly moist but not soggy. Use a spray bottle or gentle watering can to avoid displacing seeds. Overwatering can lead to fungal issues like damping-off disease, while under-watering can prevent germination altogether.
Temperature: Cabbage seeds germinate best at a soil temperature between 65°F and 75°F (18°C to 24°C). Germination may occur more slowly at lower temperatures, but it will still happen. Using a heat mat can help maintain optimal soil temperature, especially in cooler climates or during early spring sowing.
Light: Once the seeds germinate (typically within 5–10 days), they need bright light for healthy growth. Provide 12–16 hours of light daily using fluorescent grow lights or position them near a sunny south-facing window. Without enough light, seedlings will become leggy and weak.
Germination Time: Cabbage seeds typically germinate within 5 to 10 days under ideal conditions. However, germination time may extend up to 14 days in suboptimal conditions. After germination, seedlings are ready for transplanting when they have at least 2–3 true leaves, usually within 4–6 weeks.
Soil & Fertilizer Requirement
Soil Type: Cabbage grows best in loamy, fertile soil that retains moisture without becoming waterlogged. Ideal soil conditions include:
- pH level: 6.0 to 6.8 (slightly acidic to neutral)
- High organic matter content
- Good drainage
- Crumbly texture that allows root penetration
Heavy clay soils should be amended with compost and sand to improve texture, while sandy soils need more organic material to retain moisture and nutrients.
Soil Preparation
Before transplanting seedlings outdoors:
- Clear the area: Remove weeds and debris to prevent competition and pest hiding spots.
- Till the soil: Loosen to a depth of at least 12–15 inches to allow deep root growth.
- Amend with organic matter: Add 2–4 inches of well-rotted compost or manure and mix thoroughly.
- pH adjustment: Use lime to raise the pH if the soil is too acidic, or sulfur to lower it if too alkaline.
- Soil testing: Conduct a soil test to determine nutrient levels and make precise amendments.
Fertilization: Cabbage is a heavy feeder and requires ample nitrogen early in its growth cycle for lush leaf development. Follow this fertilization schedule:
- Pre-planting: Incorporate a balanced fertilizer (e.g., 10-10-10 NPK) at 1.5 pounds per 100 square feet.
- At transplanting: Use a starter solution high in phosphorus (e.g., 5-10-5) to stimulate root growth.
- Mid-growth: Side-dress with nitrogen-rich fertilizer (e.g., blood meal, fish emulsion, or urea) about 3 weeks after transplanting.
- Avoid excessive nitrogen late in growth, as this can delay head formation and increase susceptibility to pests.
Organic options include compost tea, seaweed extract, and bone meal. Avoid over-fertilizing, which can lead to overly leafy plants with smaller heads.


Watering Requirement
Regular Watering: Cabbage needs consistent moisture to develop properly. Lack of water can lead to stunted growth and splitting heads, while excess water can cause root rot. Aim for:
- 1.5 to 2 inches (3.8 to 5 cm) of water per week
- Water early in the morning to allow foliage to dry, reducing disease risk
Drought Tolerance: Cabbage is not drought-tolerant and suffers quickly in dry conditions. Signs of water stress include wilting, yellowing lower leaves, and slowed growth. Use mulch around plants to conserve soil moisture during dry spells.
Deep Watering: Use deep watering techniques to encourage robust root systems. Instead of frequent shallow watering, irrigate deeply once or twice per week, depending on weather and soil conditions. Drip irrigation or soaker hoses are ideal for delivering water directly to the root zone.
Avoid Overwatering: Too much water can lead to:
- Root rot
- Fungal diseases like clubroot
- Nutrient leaching
- Soft, vulnerable heads
Ensure the soil has good drainage and only water when the top inch of soil feels dry to the touch.
Climate Dependent: Adjust watering based on your local climate:
In cooler climates: Reduce watering but ensure consistent moisture during dry periods.
In hot, dry regions: Increase frequency and mulch heavily.
In humid areas: Reduce watering and improve airflow to prevent fungal diseases.
Pest Control Requirement
List of Common Pests
- Cabbage Worms
- Aphids
- Flea Beetles
- Cabbage Root Maggots
- Cutworms
- Slugs and Snails
- Whiteflies
- Harlequin Bugs
- Diamondback Moths
- Thrips
Solutions: Preventive Measures
- Crop rotation: Avoid planting cabbage or other brassicas in the same location more than once every 2–3 years.
- Floating row covers: Use lightweight covers to protect seedlings and young plants from flying insects.
- Companion planting: Grow plants like dill, marigold, mint, or thyme nearby to deter pests naturally.
- Mulching: Straw or wood chips help deter maggots and suppress weeds.
Organic Solutions
- Neem oil: Effective against soft-bodied insects like aphids, whiteflies, and thrips.
- Bacillus thuringiensis (Bt): A natural bacterium that targets caterpillars without harming beneficial insects.
- Diatomaceous earth: Use around plants to kill slugs, snails, and beetles mechanically.
- Insecticidal soap: Useful against aphids and whiteflies; apply directly to pests.
- Beer traps and handpicking: For slugs and snails, set out shallow dishes of beer or manually remove pests.
Chemical Control
- Use synthetic insecticides as a last resort and choose those labeled for cabbage or brassicas.
- Always follow application guidelines and observe pre-harvest intervals (PHIs).
Biological Control: Use nematodes to control soil-borne pests like root maggots and cutworms.
Introduce or encourage beneficial insects like ladybugs, lacewings, and parasitic wasps.


Reviews
There are no reviews yet