What’s in the Box
- Morning Glory Seeds
- Sowing instructions printed on backside of Seed Packet
- Recyclable Pouch
Introduction
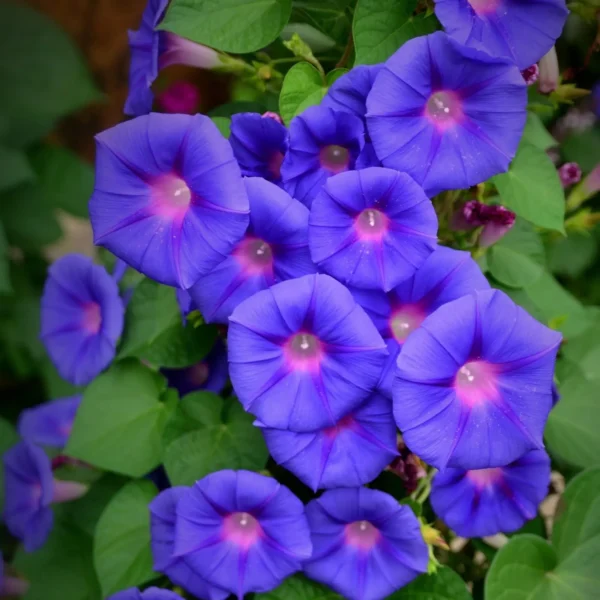
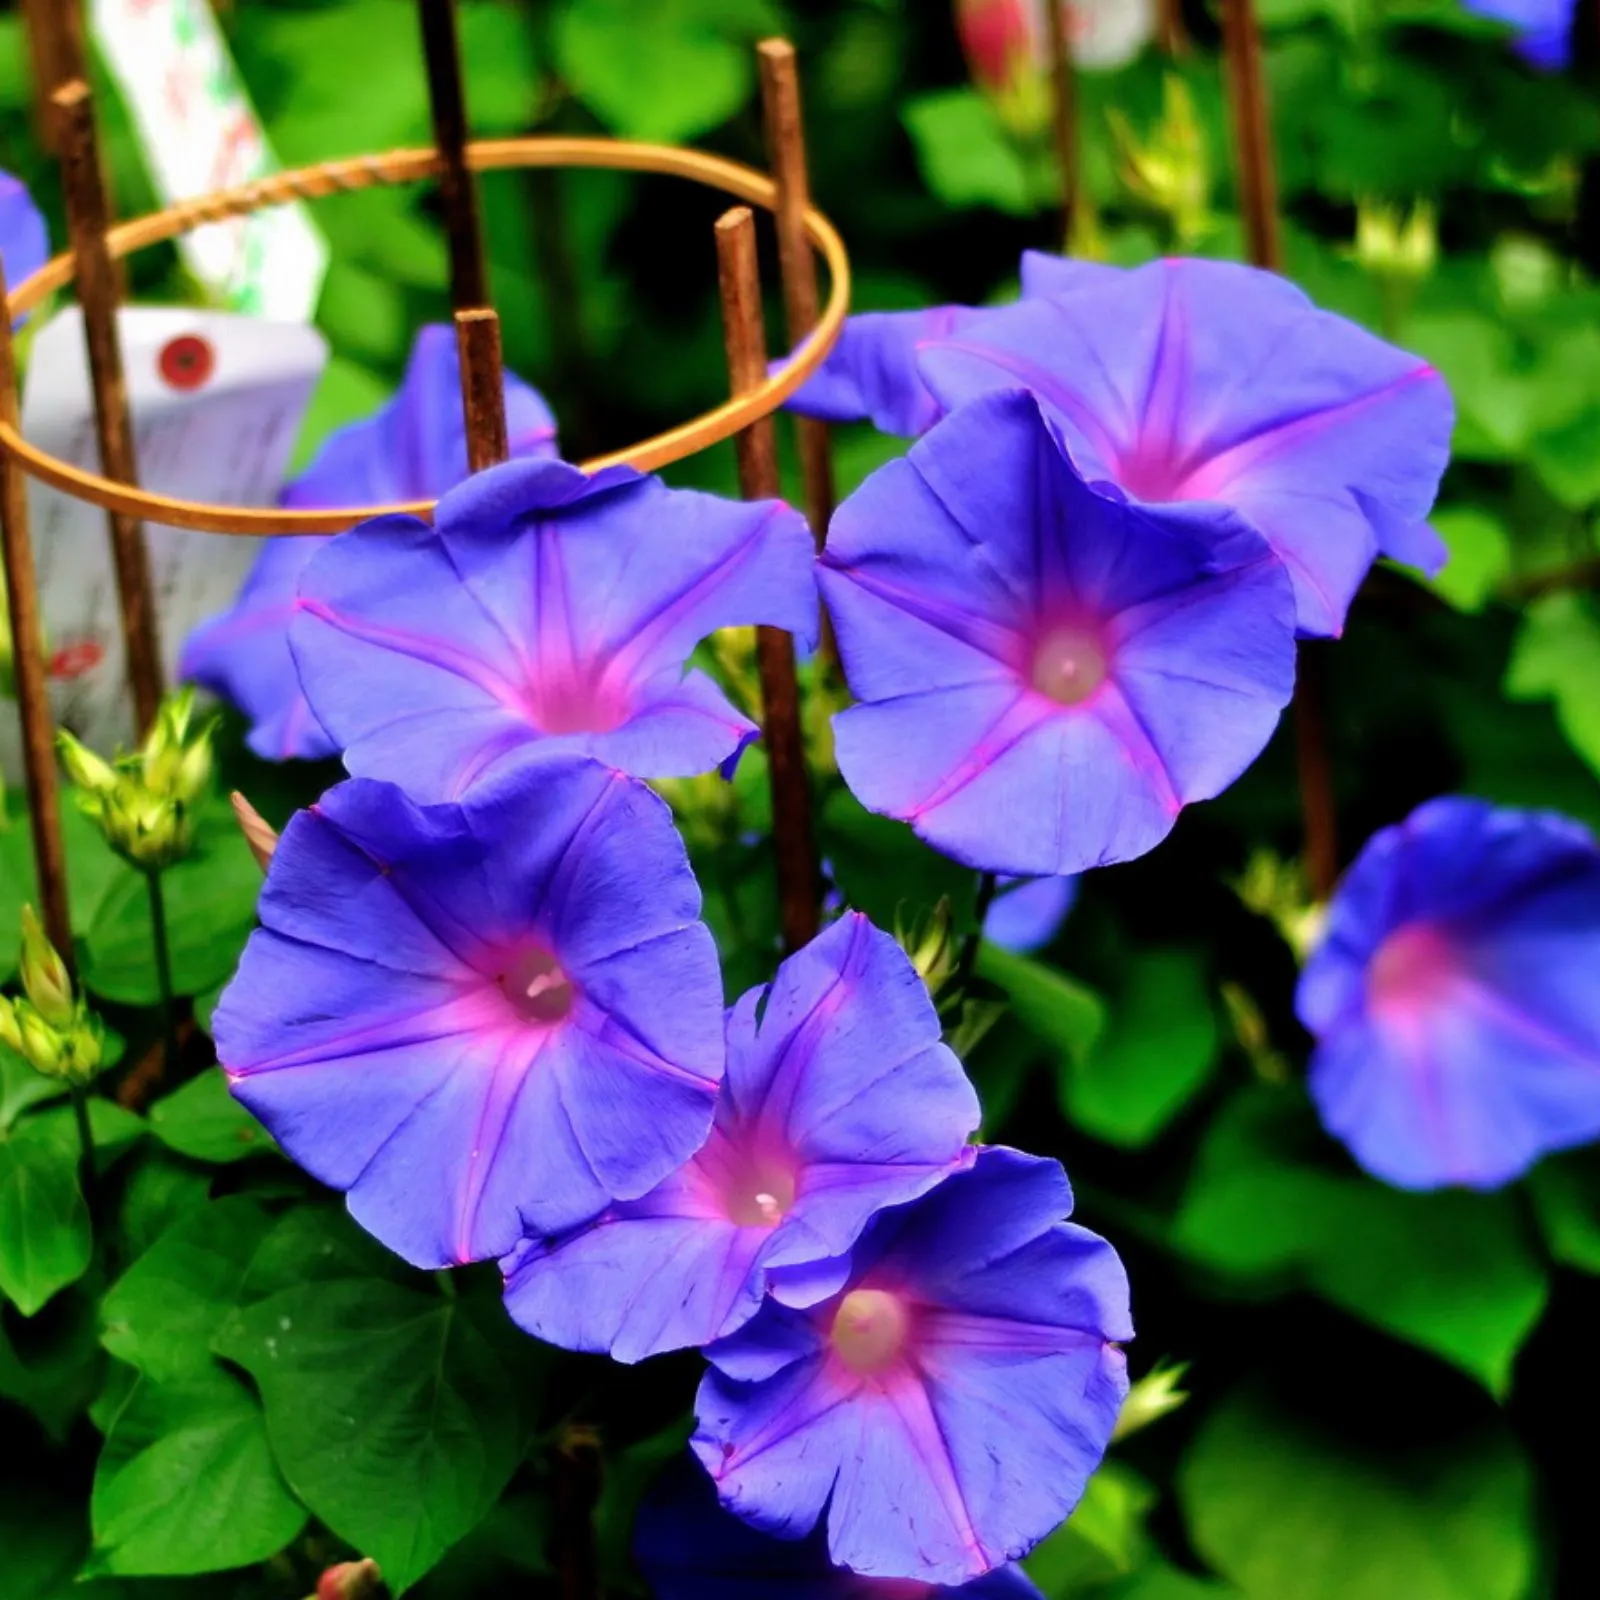
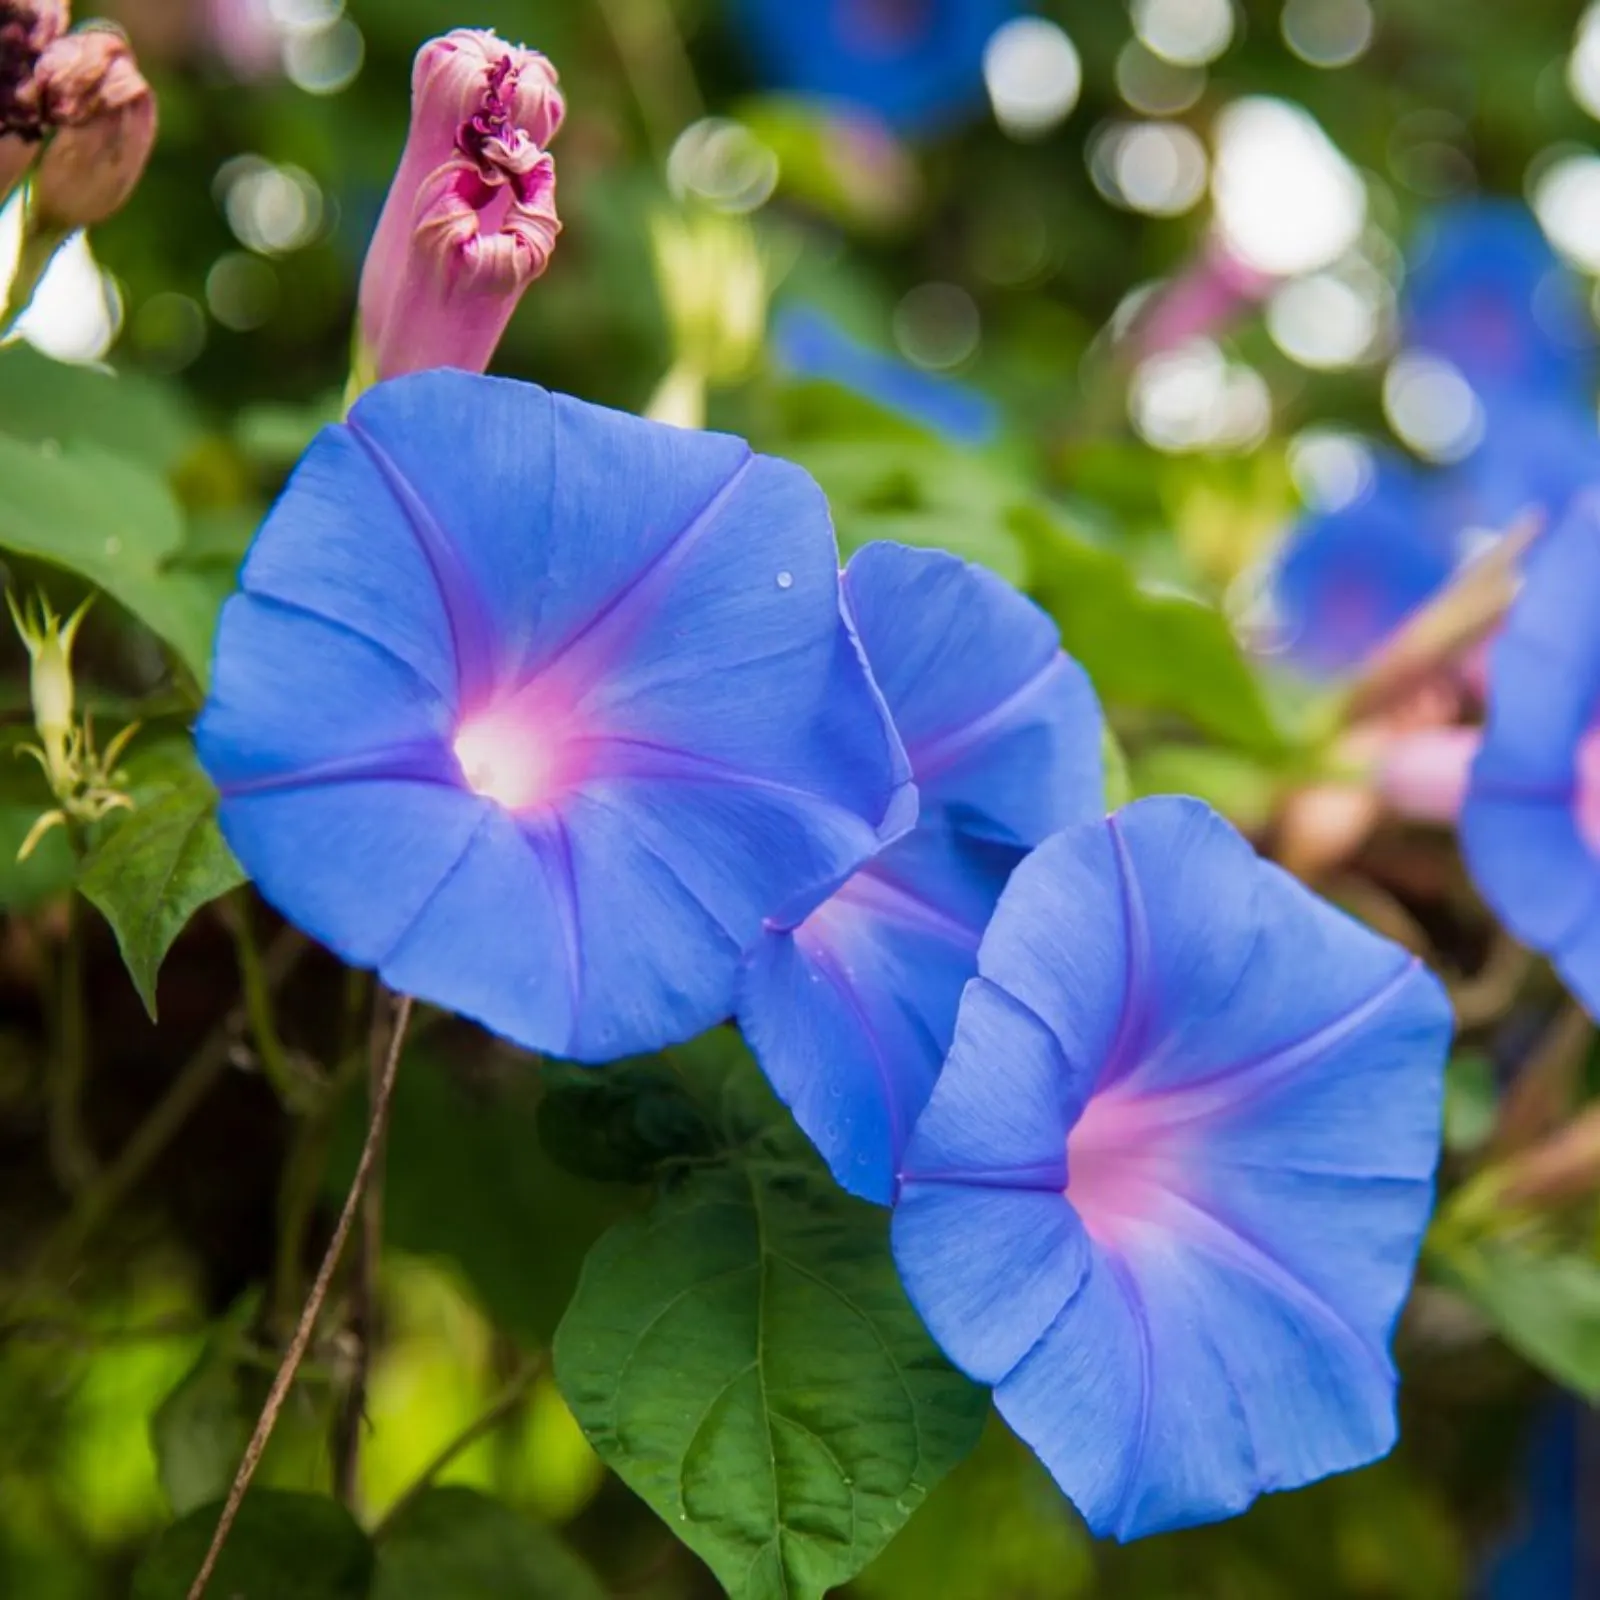
Morning Glories are one of the most cherished flowering plants for gardeners worldwide. With their vibrant, trumpet-shaped blooms that unfurl in the early hours of the day, they bring a sense of freshness and vitality to any garden. Available in an array of colors such as blue, purple, pink, and white, Morning Glories are perfect for creating an enchanting vertical display on trellises, fences, and walls. Their rapid growth and stunning blooms make them a favorite among beginners and experienced gardeners alike.
Guide to the Germination Process, Soil & Fertilizer, Watering & Pest Control Requirements for Morning Glory Flower Seeds

Seeds Germination Process
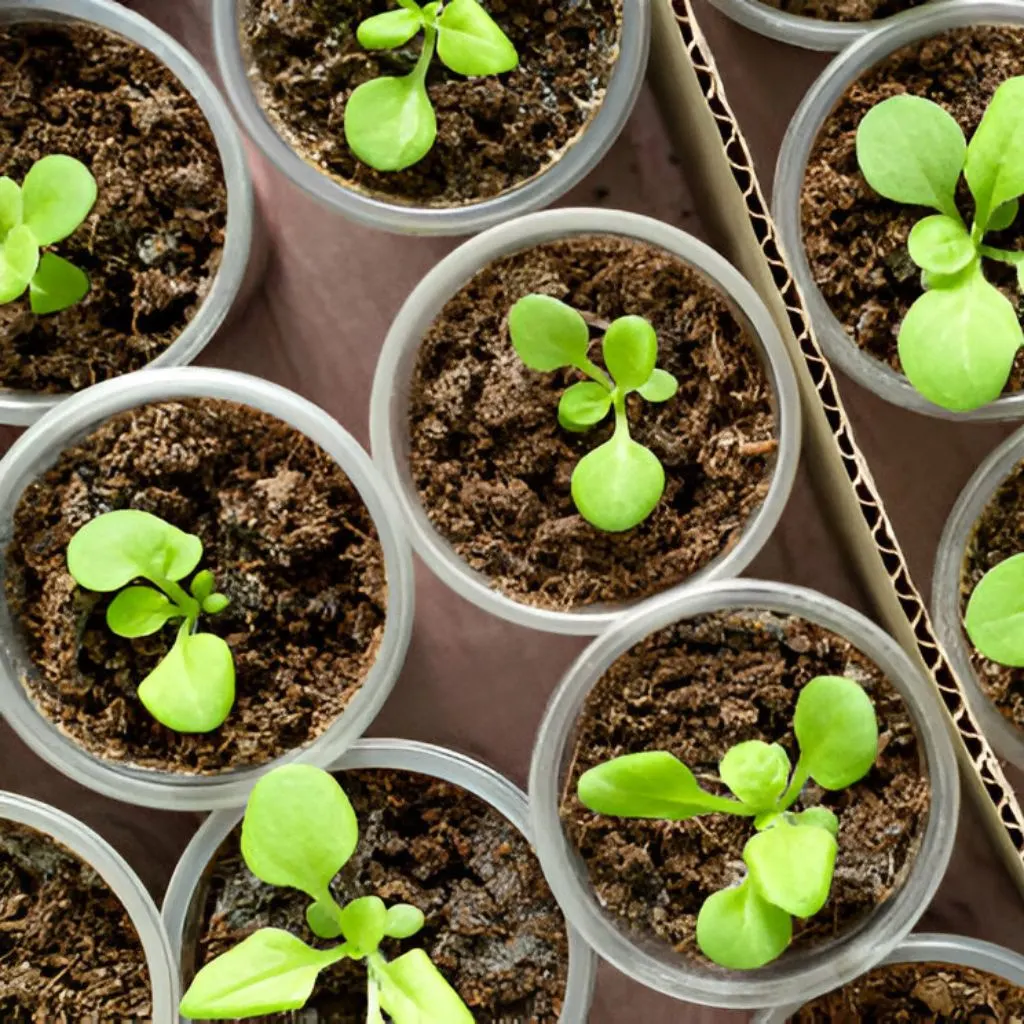
Seed Preparation: Morning Glory seeds have a hard seed coat, which can benefit from scarification to improve germination rates. You can scarify the seeds by lightly sanding them with sandpaper or nicking them with a knife. Alternatively, you can soak the seeds in warm water for 24 hours before planting.
Planting Medium: Use a well-draining potting mix. A mixture of peat, perlite, and compost is ideal. Ensure the soil is light and loose to promote good root development.
Planting: Plant the Morning Glory seeds about 1-2 cm (0.4-0.8 inches) deep in the soil. Space the seeds about 5-10 cm (2-4 inches) apart if you’re planting multiple seeds.
Containers: You can start seeds in seed trays, pots, or directly in your garden bed. If using containers, ensure they have good drainage holes.
Watering: Keep the soil consistently moist but not waterlogged. Overwatering can lead to fungal problems or rot. Use a gentle spray to avoid washing the seeds away.
Temperature: Butterfly Pea seeds germinate best at temperatures between 18-29°C (65-85°F). If you’re in a cooler climate, consider using a seedling heat mat to maintain optimal temperatures.
Light: Morning Glory Seeds typically need indirect light to germinate. Once seedlings emerge, they will benefit from bright, indirect light. If you’re growing indoors, a grow light can be helpful.
Germination Time: Seeds generally take about 1-2 weeks to germinate, although it can vary. Be patient and keep the conditions optimal for best results.
Soil & Fertilizer Requirement
Loosen Soil: Ensure the soil is loose and aerated. If you’re planting in a garden bed, loosen the soil to a depth of at least 12 inches (30 cm) and mix in organic matter like compost to enhance fertility and drainage.
Balanced Fertilizer: A balanced, all-purpose fertilizer with equal parts NPK 19:19:19 works well. This promotes overall growth and flowering.
Organic Options: Compost or well-rotted manure can be excellent alternatives to synthetic fertilizers, providing a steady release of nutrients and improving soil health.
Application: For established Morning Glory plants, fertilize every 4-6 weeks during the growing season (spring through late summer). Reduce fertilization during the fall and winter months when growth slows down.
Flowering: If the Morning Glory plant is not flowering well, it may benefit from a fertilizer higher in phosphorus, as phosphorus supports blooming. A bloom booster formula can be used occasionally if needed.
Avoid Over-Fertilizing: Too much fertilizer, especially high-nitrogen types, can lead to excessive foliage growth at the expense of flowers and can potentially harm the plant.


Watering Requirement
Regular Watering: Morning Glory plants generally prefer consistent moisture. Water the plants regularly, ensuring the soil stays evenly moist but not waterlogged.
Drought Tolerance: Once established, Morning Glory plants can tolerate some drought, but it’s still best to water during dry spells to keep them thriving and flowering well.
Deep Watering: Water deeply to encourage deep root growth. Shallow watering can lead to shallow roots and reduced drought resistance.
Avoid Overwatering: Ensure good drainage to prevent waterlogging, which can lead to root rot. The soil should be well-draining, and excess water should be able to escape easily from the planting area.
Climate Dependent: Adjust your watering schedule based on the climate and weather conditions. In hot, dry weather, you may need to water more frequently. In cooler, rainy conditions, reduce watering accordingly.
Pest Control Requirement
Aphids: These small insects can suck sap from the Morning Glory plant, leading to stunted growth and leaf distortion. They are often found on new growth and can be controlled with insecticidal soap or neem oil.
Spider Mites: These tiny pests can cause leaf discoloration and webbing. They thrive in dry conditions. Increase humidity around the plant and use miticides or insecticidal soap if needed.
Caterpillars: Various caterpillars can feed on the leaves. Hand-picking or using organic insecticides like Bacillus thuringiensis (Bt) can help manage them.
Powdery Mildew: This fungal disease appears as a white, powdery substance on leaves. Improve air circulation, avoid overhead watering, and use fungicides if necessary.
Root Rot: Caused by overwatering and poor drainage. Ensure soil drains well and avoid waterlogging. Use fungicides as a last resort if root rot develops.
Regular Inspection: Check Morning Glory plant regularly for signs of pests or disease. Early detection and intervention can prevent more serious problems.


Reviews
There are no reviews yet